If you’ve tried a few AI image models lately, you’ve probably noticed a pattern: generating a “cool” image is easy, but getting a useful image is still the hard part. A useful image follows your instructions, holds a layout, stays consistent across revisions, and survives a few rounds of feedback without collapsing into random variation.
That is exactly where Seedream 5.0 Lite tends to shine. On Flyne AI, it works like a practical production model: generate quickly, judge the strongest direction, then iterate without starting from scratch.
In this guide, we’ll walk through what Seedream 5.0 Lite is, what it is best at, how to use it on Flyne AI, and how to write prompts that help you reach a clean “final” faster.
What Seedream 5.0 Lite Is
At a high level, ByteDance Seedream 5.0 Lite is an image model built for strong instruction-following and practical iteration. Instead of treating your prompt like a loose bag of keywords, it is designed to understand intent, constraints, and design-like requirements.
That matters because many real-world image requests are not purely artistic. A creator may need a poster with a clear headline area and CTA. A brand team may want to keep a product the same while changing the background and lighting. A marketer may need three variations that feel consistent with a campaign style.
Those are the situations where a model that follows directions and edits cleanly becomes more valuable than one that only produces pretty pictures.
Seedream 5.0 vs Seedream 5.0 Lite
You will see “Seedream 5.0” and “Seedream 5.0 Lite” used close together in casual conversation. For article writing, it helps to be precise.
Use Seedream 5.0 Lite when discussing the practical model workflow users can try on Flyne AI. Use Seedream 5.0 when readers are searching for broader model context, rollout information, or general naming.
The difference is simple for readers: Seedream 5.0 is the larger model family name they may search for, while Seedream 5.0 Lite is the practical version this guide focuses on for fast image generation and editing.
Where to Use Seedream 5.0 Lite on Flyne AI
Flyne AI makes the workflow straightforward. You can use the model directly from the dedicated Seedream 5.0 AI image generator page, which acts as a hub for generation, references, prompt cleanup, and iteration.
If you are linking in an article, you can naturally refer to the same page in a few grammatically correct ways while keeping the keywords consistent:
- Try the Seedream 5 Lite image generator for quick drafts.
- Use the Seedream 5.0 Lite AI image generator when you need cleaner instruction-following.
- Start from Flyne AI’s broader AI Image Generator if you want to compare Seedream with other image models.
- Use the Image to Image AI editor when your workflow begins with an existing photo, product shot, sketch, or reference image.
The key advantage is that you do not have to jump between several tools. You can generate, evaluate, refine, and compare models in one place.
What Makes Seedream 5.0 Lite Feel Different in Practice
Many image models specialize in visual wow-factor. Some focus on speed. Others perform best in one narrow style. Seedream 5.0 Lite feels different because its practical advantage comes from how it handles instructions.
The first strength is better instruction-following for complex prompts. If your prompt includes multiple objects, multiple constraints, and a specific composition request, Seedream 5.0 Lite is a strong candidate.
The second strength is more predictable layout behavior. That makes it useful for posters, social tiles, slide-like visuals, product layouts, and structured creative assets where a messy composition can ruin the result.
The third strength is the smoother iterate-and-fix loop. The best way to use the model is to treat the first image as a draft, then use the next prompt to adjust the details instead of rerolling endlessly.
In other words, if your workflow includes feedback, revisions, or brand consistency, Seedream 5.0 Lite is built for the part of image generation where many creators usually lose time.
Core Features You’ll Actually Use
1) Draft vs Final: Choose Resolution With Intent
The fastest way to get better results is to treat generation like a two-stage process.
In the draft stage, generate quickly while you are still deciding the composition, subject, angle, background, and general creative direction. At this point, the goal is not perfection. The goal is to find the strongest direction.
In the final stage, switch to higher quality settings once you already know what you want. This is when you refine lighting, details, spacing, product clarity, and overall polish.
A simple rule works well: if you are still saying “maybe,” stay in draft mode. If you are saying “yes, but change this,” it is time to edit.
2) Editing Is the Real Productivity Win
Most people waste time rerolling. A better approach is to generate something close, then make targeted edits.
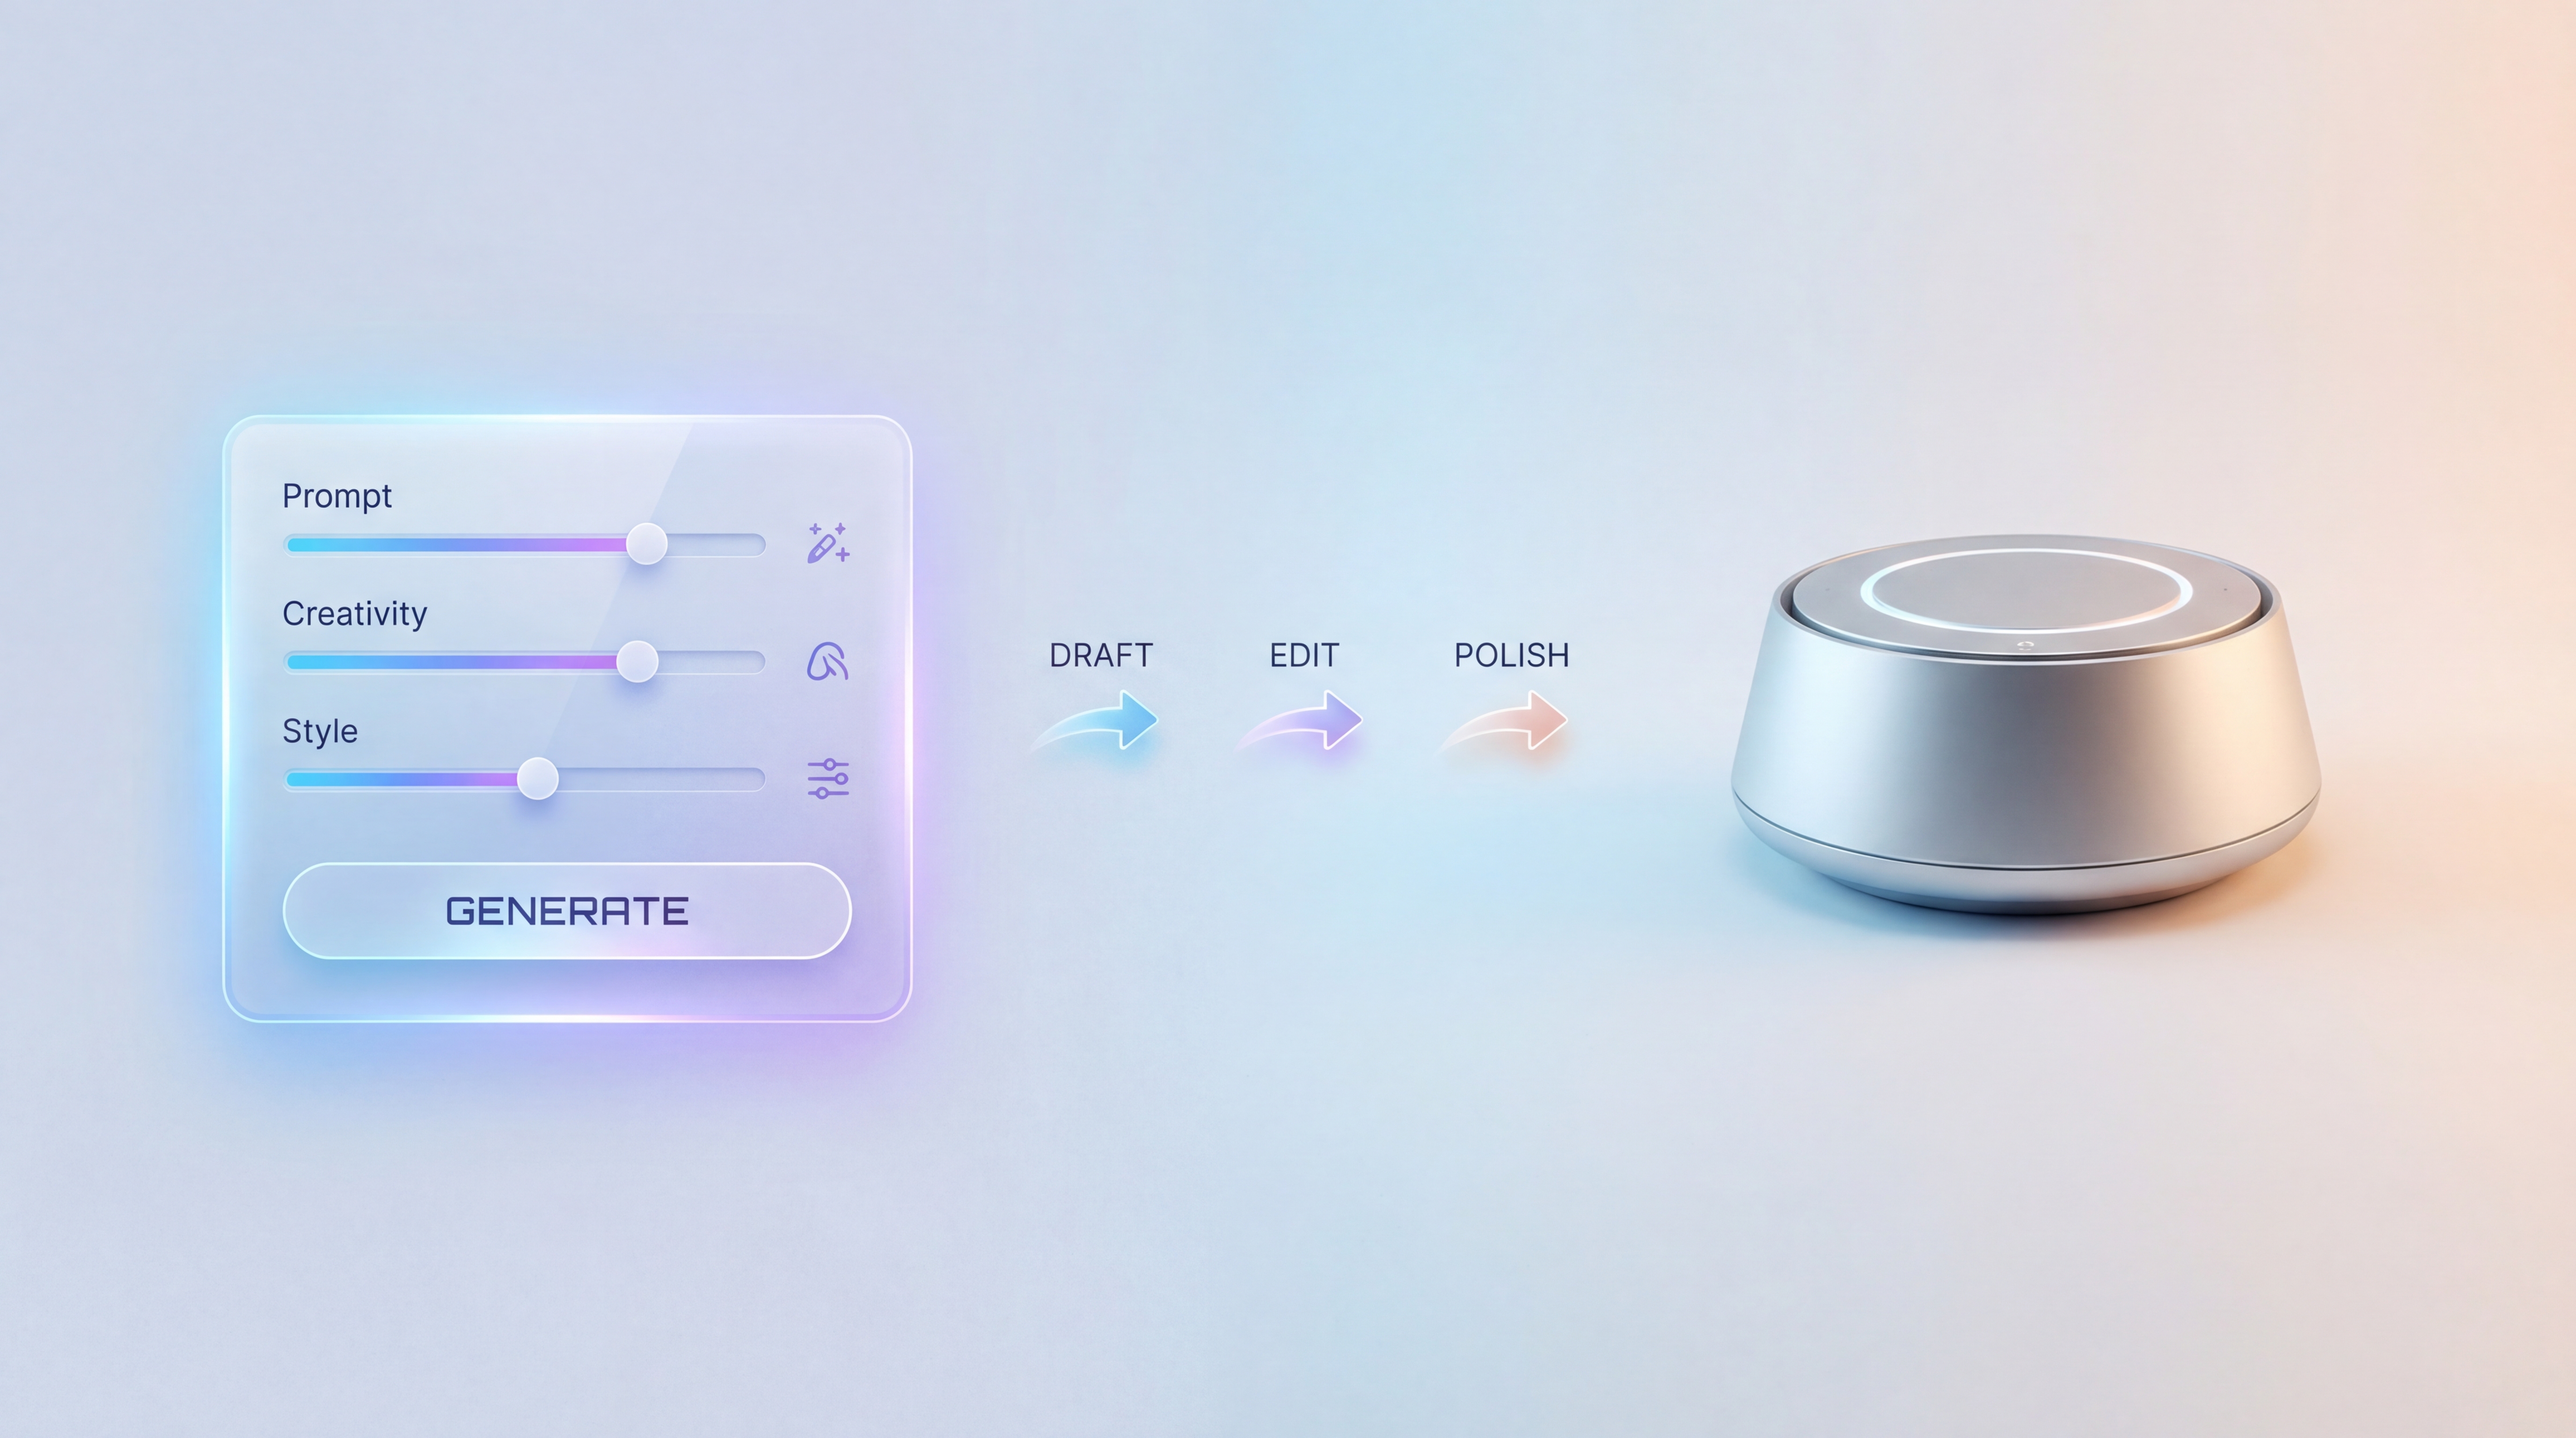
That is why Seedream 5.0 Lite image editing deserves its own mental slot in your workflow. Think of it as:
Draft → lock the composition → edit the details → polish
Common edit requests include keeping the subject and pose while changing the background, keeping the composition while adjusting lighting, replacing one object without touching the rest, or making the style more minimal, premium, cinematic, or editorial.
This workflow feels much closer to creative production than random generation. You are guiding the result instead of gambling on a perfect first output.
3) References and Prompt Helpers
If Flyne AI offers prompt helpers like translation or optimization, use them as a cleanup step rather than a crutch. They are most useful when you have a clear idea but messy wording, or when you need to translate a rough concept into a cleaner English prompt structure.
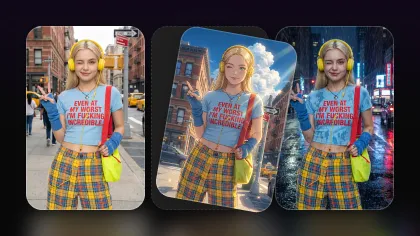
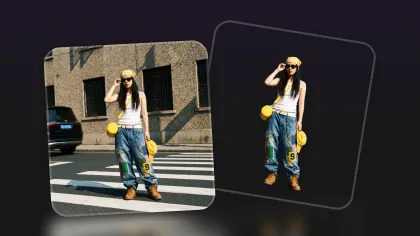
Reference images are especially useful when you want a consistent character look, a brand style, a product silhouette, a pose, or a specific composition. For image-to-image tasks, the reference should carry the structure while your prompt explains what should change.
A Beginner-Friendly Workflow: 5 Minutes to a Good Result
Step 1: Write a Brief-Style Prompt
Instead of starting with adjectives, start with purpose. Ask what the image is for, who it is for, and where it will be used.
Example:
A clean product hero image for an e-commerce landing page.
That opening gives the model a job. The rest of the prompt can define the visual rules.
Step 2: Add Constraints the Model Cannot Guess
Good constraints make the difference between a pretty image and a usable one. Add layout, style, background, and negative instructions.
Useful examples include:
- Layout: “centered product, empty space at top for headline.”
- Style: “minimal, premium, high-contrast, studio lighting.”
- Background: “solid light gray, no texture.”
- Don’ts: “no watermark, no extra text, no hands.”
Constraints should sound like a design brief. They tell the model what matters and what must stay out.
Step 3: Generate a Small Batch
A small batch helps you compare directions without overcommitting. You are not choosing the perfect image yet. You are choosing the best direction.
Look for the output with the strongest composition, cleanest subject, and most usable layout. Small errors can be fixed later, but a weak core direction usually wastes more time.
Step 4: Edit With Surgical Changes
Use this sentence pattern:
Keep X the same. Change Y. Do not change Z.
For example:
Keep the product position, camera angle, and shadow the same. Change the background to a warm studio beige. Do not add text or extra props.
This is where models that support strong editing start saving time. You are no longer asking for a new image; you are asking for a controlled revision.
Step 5: Final Polish
When the image is 90% correct, use one last pass for cleaner lighting, better subject-background separation, reduced clutter, sharper edges, and a more consistent style.
This final polish stage is where the image moves from “good AI output” to “usable creative asset.”
Copy/Paste Prompt Templates
Template A: Marketing Poster
Create a vertical poster for [topic]. Clear headline area at the top, central hero visual, CTA button area at the bottom. Modern, minimal design. High readability. No extra text.
Template B: Product Hero Shot
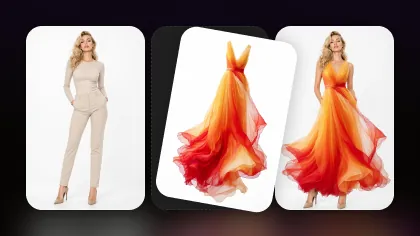
A product hero image of [product] centered on a clean background. Studio softbox lighting, crisp edges, subtle shadow. Premium e-commerce style. No hands, no text, no watermark.
Template C: Character Concept Sheet
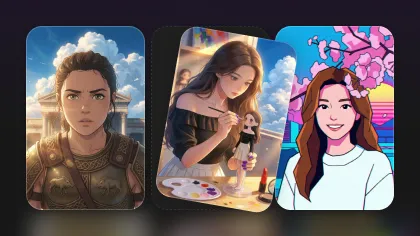
Character concept sheet: front, side, and back views of [character description]. Consistent outfit and face. Neutral background. Clean line clarity. No extra characters.
Template D: Diagram or Infographic
A simple infographic explaining [concept] with 4 labeled sections. Minimal icons, clean spacing, clear hierarchy. White background. High legibility. No decorative clutter.
Template E: Editing-Only Instruction
Keep composition, subject identity, and pose unchanged. Change the background to [new background] and adjust lighting to [lighting description]. Do not add text.
Common Issues and Fast Fixes
“My Image Is Close, but the Details Are Wrong.”
Stop rerolling and move to editing. Keep the composition the same, name the one change you need, and explicitly state what must not change.
“The Layout Feels Messy.”
Add layout constraints. Try “center subject,” “leave empty space in the top third,” or “limit the image to one main focal point.” Layout instructions are especially important for posters, thumbnails, and product visuals.
“Text Looks Weird.”
Provide exact text and ban extras. For example: “Use the exact headline: [headline]. No additional text.” For text-heavy visuals, keep the wording short and leave enough empty space.
“Identity Changes Across Variations.”
Use a reference image and lock the identity. Try: “Preserve face, hair, outfit, camera angle, and framing.” If the subject must remain consistent, make that the first instruction in the edit prompt.
Use Cases Where Seedream 5.0 Lite Works Especially Well
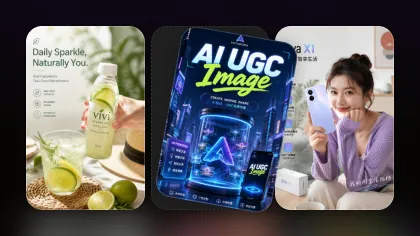
Seedream 5.0 Lite is a strong fit for marketing creatives, especially fast A/B variations for social media ads, landing pages, product launches, and campaign visuals.
It also works well for product visuals, including consistent hero shots, seasonal refreshes, and background changes where the product itself needs to remain stable.
For creator assets, it can help with thumbnails, posters, profile visuals, and repeatable series styles. For work visuals, it is useful for slide-style images, simple diagrams, structured explainers, and clean presentation graphics.
If you are doing real production work where controllable output matters, this is where Seedream 5.0 Lite tends to earn its place.
Timeline and Naming Details
If your readers are searching for the Seedream 5.0 release date, include a short clarification section that explains the naming and how different platforms may label the model.
Even if someone arrives from a generic “Seedream 5.0” query, you can orient them quickly: this guide focuses on Seedream 5.0 Lite as a practical image generation and editing workflow on Flyne AI. For the latest access details, the model page is the best place to check current availability.
FAQ
Does Seedream 5.0 Lite Support Image Editing?
Yes. Use Seedream 5.0 Lite image editing when you want to refine a near-miss instead of rerolling from scratch.
How Do I Get Consistent Results?
Use references when possible, then write prompts that lock identity, composition, pose, camera angle, and “do not change” constraints.
What Resolution Should I Use?
Draft low while exploring directions, then switch higher when you are polishing the final. This keeps experimentation faster and saves higher-quality generations for assets that are already close.
What Prompts Work Best?
Prompts that read like a design brief work best: purpose first, then layout, then constraints, then style, then what to avoid.
What to Try Next: 3 Quick Wins
- Generate a simple product hero image using Template B.
- Make one targeted change using Template E.
- Try a layout-heavy poster using Template A to test instruction-following.
Once you get used to the draft → edit → polish loop, the Seedream 5 Lite image generator starts to feel less like AI roulette and more like a reliable creative tool.
Recommended Tools
- Seedream 5.0 AI Image Generator
- Flyne AI Image Generator
- Image to Image AI Editor
- GPT Image 2 AI Image Generator
- Nano Banana 2
- Nano Banana AI
- Recraft AI Image Generator
- Image to Prompt AI Generator
Related Articles
- GPT Image 2 Explained: What’s New, and How It Compares With Nano Banana Pro
- What Is Nano Banana 2 and How Does It Work?
- Qwen Image vs Nano Banana 2: The Practical Creator’s Guide to Editing, Text, and Consistency
- Creating 4K High-Quality Images with Nano Banana Pro AI: A Practical Editor’s Guide
- Seedream 4.5 vs Nano Banana Pro: Which AI Visual Tool Actually Fits Your Creative Workflow?
People Also Read
- Seedream 5.0 Image Generation Guide on HeyDream AI: Step-by-Step + Best Tools
- HeyDream AI Image Generator Guide: Best Models for Text-to-Image and Image-to-Image
- Nano Banana 2 vs Qwen Image 2.0 vs Seedream 5.0: Which Model Fits Your Workflow?
- Nano Banana 2 vs Nano Banana Pro: What Changed and Which One Fits Your Workflow?
- How to Use Nano Banana 2 for AI Image Generation and Editing
- VideoWeb AI Image Generator 2026: The Fast-to-Final Model Map
- Nano Banana 2 vs Seedream 5.0: A Practical Comparison Guide
- The Seedream 5.0 AI Image-to-Image Analysis Guide 2026