AI video generators can feel a little like a slot machine: you type something, hit generate, and hope the output looks close to what you imagined.
The good news is that Vidu Q3 becomes much more predictable when you treat it like a short-shot production tool instead of a magic button. A 5–10 second AI video needs a clear subject, a simple action, one camera move, and a visual mood the model can actually hold.
In this viewer-first guide, you’ll learn how to use Vidu Q3 AI video generation on Flyne AI with a repeatable workflow: write prompts that fit short clips, get smoother motion, create cinematic-looking shots, and avoid burning endless rerolls.
What You’ll Get From This Guide
By the end of this article, you’ll be able to pick the right setup for text-to-video versus image-to-video, use a practical prompt structure for Vidu Q3, create cinematic shots with simple motion, and fix common issues like flicker, face drift, or chaotic composition.
If you are evaluating options, the page you will use most is the Vidu Q3 AI video generator on Flyne AI. For broader experiments, the Flyne AI Video Generator is also useful when you want to compare multiple video models from one starting point.
Vidu Q3 in One Minute: What It Is and When to Use It
Think of the Vidu Q3 video generator as a fast, creator-friendly model for short clips. It is especially useful when you want quick social drafts, short “film shot” moments, smooth camera motion, and stylized lighting without building a complex production pipeline.
Vidu Q3 is a strong pick when you want short clips that look polished with minimal setup, fast variations around the same idea, and a workflow that focuses on one shot at a time.
It may be less ideal when you need long multi-shot storytelling in a single generation or extremely strict character continuity across many separate scenes. For most creators, the better strategy is simple: treat Vidu Q3 like a shot generator, then stitch your story together with multiple short clips.
A Quick Interface Tour
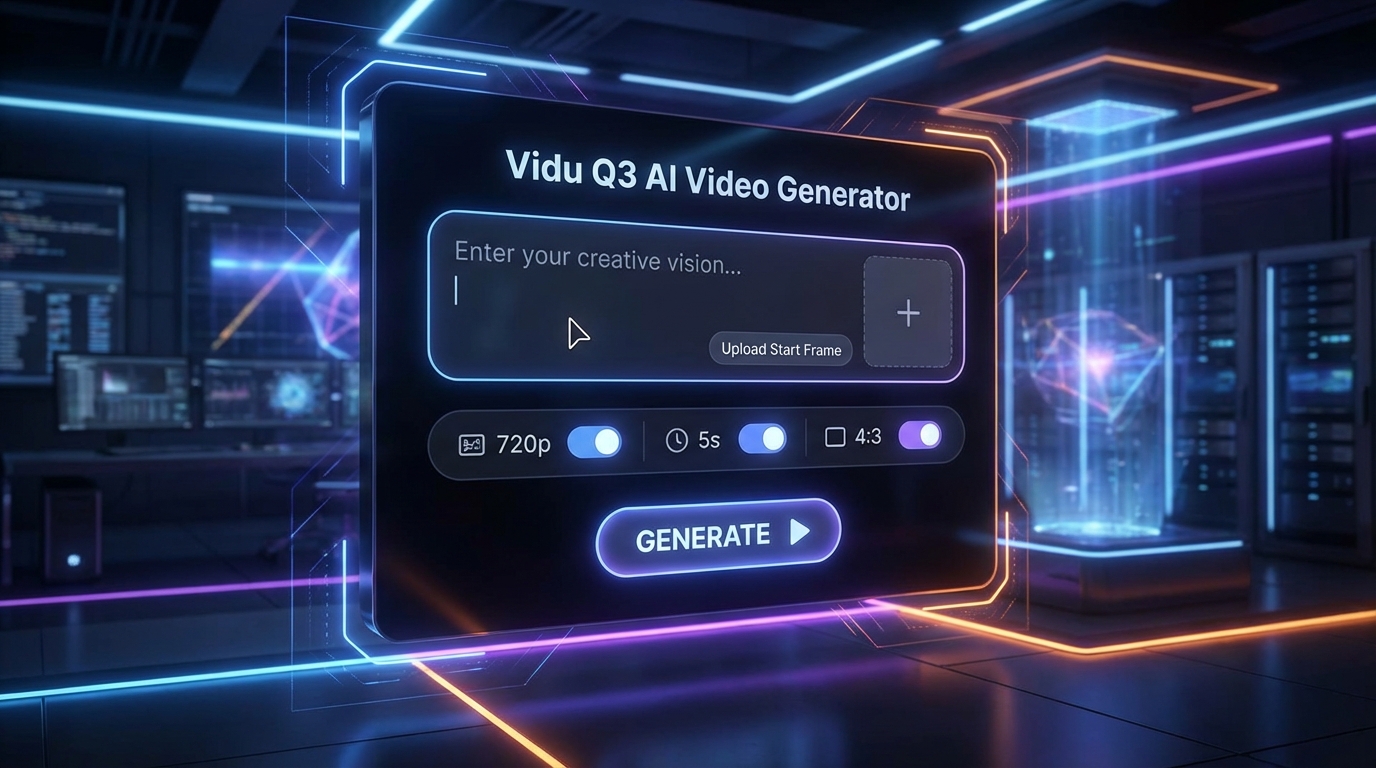
On Flyne AI’s Vidu Q3 page, you will usually see a prompt box, an optional start-frame image upload, and settings such as resolution, duration, and aspect ratio. You may also see prompt helpers such as translation or prompt optimization, which are useful when you have a clear idea but need cleaner wording.
The settings that matter most are duration, resolution, and aspect ratio. A 5-second duration is usually easiest to control, especially for beginners. A 720p draft can be enough while testing ideas, then you can upscale or regenerate higher once the shot direction is right. Aspect ratio should follow the final platform: 9:16 for TikTok and Reels, 16:9 for YouTube or cinematic wide shots, and 4:3 for vintage or retro framing.
If you are new, start with 5 seconds and a simple draft setting. That is the best learning mode because it keeps the output easier to judge.
The Fastest Way to Get a Good Result
Most low-quality outputs come from one mistake: too much happening in too little time. Vidu Q3 works best when you treat your prompt like a short shot description.
Step 1: One Subject, One Action, One Camera Move
Try to keep your 5-second video to one main subject, one action, and one camera move. A person turns toward the window. A bottle rotates on a reflective table. A traveler walks slowly through a neon street. The camera pushes in, pans right, or tilts up.
If you stack multiple actions and multiple camera moves, the model often responds with messy motion. A short AI video needs focus more than ambition.
Step 2: Add Motion on Purpose
Motion looks real when it has a physical reason. Instead of writing “cool dynamic movement,” use grounded cues such as subtle handheld sway, wind moving hair and fabric, light reflections shifting on wet pavement, or steam rising from hot food.
These cues help the model understand not only that something moves, but why it moves.
Step 3: Iterate the Smart Way
Generate two or three variants first, pick the best direction, then change one thing at a time. Adjust lighting, camera, or action separately rather than rewriting the whole prompt.
That is the most reliable Vidu Q3 tutorial mindset: small changes create predictable improvements.
A Prompt Formula That Works
Here is the simplest Vidu Q3 prompt structure:
- Subject + setting
- Action within 5 seconds
- Camera movement
- Lighting + mood
- Optional style constraints
Example:
A lone traveler in a rainy neon alley. They slowly turn to look over their shoulder. Slow camera push-in, shallow depth of field. Neon pink and blue reflections, soft haze, cinematic lighting, subtle film grain, crisp detail.
Before you generate, ask four quick questions. Is it filmable in 5 seconds? Is there one main subject? Is there one camera move? Is the lighting described clearly? If the answer is yes, the prompt is already stronger than most first attempts.
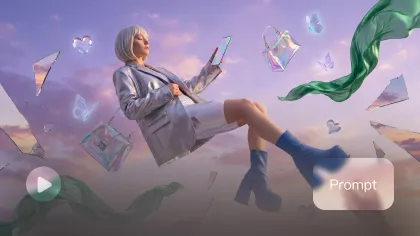
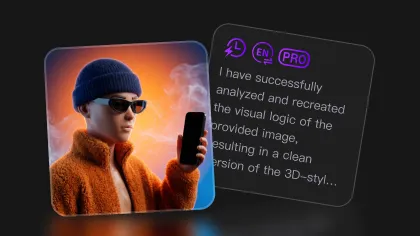
Text-to-Video: How to Get Cinematic Shots With Vidu Q3
If you are starting from text, you will likely use Vidu Q3 text to video most of the time. You can also explore Flyne AI’s broader AI Text to Video Generator when you want to compare text-led workflows across multiple video models.
Cinematic does not mean adding epic adjectives. It means giving the model the same cues a filmmaker would use: lighting direction, lens vibe, composition, camera pace, and mood.
A simple cinematic recipe is:
cinematic lighting + one lens cue + one camera move
Example:
Close-up of a wristwatch on a marble surface. Slow camera slide left. Softbox lighting, crisp reflections, shallow depth of field, premium commercial look.
If your goal is a film-like result, write Vidu Q3 cinematic video prompts that keep action simple but lighting strong.
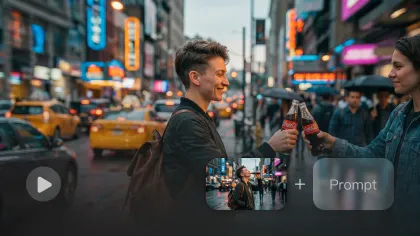
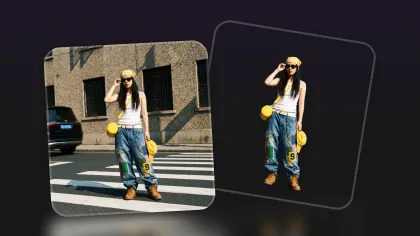
Image-to-Video: When to Use a Start Frame
A start frame can make Vidu Q3 more stable when you need a specific character, product, setting, or composition. Instead of asking the model to invent everything from text, you give it a visual anchor.
Use a start frame when the subject identity matters, when the composition must remain close to a reference, or when you want to animate an existing image into a short clip. Flyne AI’s Photo to Video AI Generator is also a useful starting point for image-led workflows.
A good image-to-video prompt should tell the model what to preserve and what to animate. For example:
Preserve the product shape, logo placement, camera angle, and clean background. Add a slow camera push-in, subtle shadow movement, and soft studio light reflections. Do not change the product design.
This is more reliable than asking for a brand-new video from scratch.
Realistic Motion: Make Movement Feel Grounded
Floaty motion usually happens when the prompt does not include physical cues. To push toward Vidu Q3 realistic motion, add words that imply weight, inertia, and restraint.
Useful phrases include grounded movement, natural physics, subtle motion, gentle handheld, realistic inertia, controlled camera motion, and slow environmental movement.
Small details sell realism quickly. Hair moves gently in wind. Cloth sways as someone turns. Steam rises from food. Rain ripples across a puddle. Reflections shift on glass. A person breathes subtly in a close-up.
Avoid fast, intense, dynamic action in a short clip unless the scene is extremely simple. Avoid multiple camera moves. Avoid conflicting style demands such as photoreal commercial video, anime action, and claymation in the same prompt. Keep motion small and believable, and the clip will instantly feel more premium.
Ready-to-Use Prompt Examples
Product Teaser
Close-up of [product] on [surface]. Subtle handheld sway. Softbox lighting, crisp reflections, clean background, premium commercial look, sharp focus.
Food Close-Up
Macro shot of [dish] on a wooden table. Steam rising gently. Slow camera push-in, warm restaurant lighting, shallow depth of field, crisp detail.
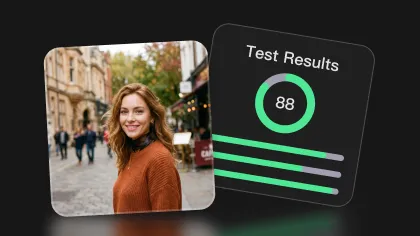
Portrait Micro-Movement
Portrait of [person], neutral background. They blink and slightly smile. Soft window light, 85mm look, shallow depth of field, natural skin texture, cinematic softness.
City Cinematic Shot
[Subject] walking through a neon street at night after rain. Slow camera follow. Blue and pink reflections, soft haze, film grain, crisp detail, grounded motion.
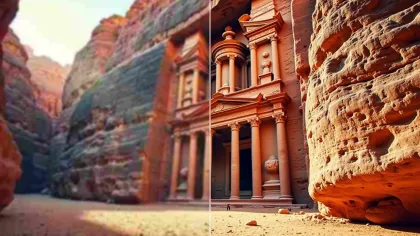
Travel Landscape
Wide shot of [location] at golden hour. Gentle wind moving trees. Slow pan right, natural colors, soft shadows, cinematic lighting, realistic motion.
Anime-Style Action Beat
Anime-style [character] standing on a rooftop at sunset. Cape fluttering in wind. Slow camera push-in, dramatic lighting, clean linework, smooth motion.
Swap the subject, setting, lighting palette, camera move, and mood to create variations without rebuilding the prompt from zero.
Recommended Settings for Common Formats
For TikTok and Reels, use a 9:16 aspect ratio, keep the subject close and readable, use simple backgrounds, and make the motion subtle but visible.
For YouTube or cinematic wide shots, use 16:9, slower camera movement, and strong lighting cues. Wider composition works best when the subject and environment both matter.
For a retro or vintage vibe, use 4:3, tighter framing, softer movement, film grain, and slightly muted colors. This format works especially well for nostalgic clips, fictional archive footage, or stylized travel scenes.
A practical resolution tip: 720p is often enough for drafts and testing. Once you are happy with the shot, move into higher-quality output or final editing.
Troubleshooting: Fix the Top Issues Quickly
If you see flicker or unstable details, simplify the background and reduce the number of moving objects.
If faces drift, use a start frame and reduce camera motion.
If motion is too fast, specify “slow” or “subtle,” then remove extra actions.
If the composition looks messy, add “clean background” and “centered subject.”
If the result looks generic, add one signature cue, such as a lighting style, lens feel, or palette.
If the clip feels chaotic, remove half the adjectives and keep one style direction.
If colors shift, lock the palette with phrases like “warm neutrals” or “cool teal.”
If the camera feels wild, choose one move only: push-in, pan, slide, or tilt.
If the subject changes, describe the identity clearly with clothing, age range, hair, silhouette, or key features.
If the shot still does not feel cinematic, add cinematic lighting, soft shadows, shallow depth of field, and a clear focal point.
When you are unsure what to change, follow one simple rule: change one thing at a time.
FAQ
Should I Prompt in English?
If the translate feature works well for you, you can prompt in your native language. Many creators still prefer English for maximum consistency, especially when using specific camera, lighting, and lens terms.
What Duration Works Best?
Five seconds is easiest to control. Once you are getting consistent results, try longer durations with the same one-subject, one-action, one-camera-move principle.
Is Vidu Q3 Better for Text-to-Video or Image-to-Video?
It can work for both. Text-to-video is useful for quick ideation, while image-to-video is usually stronger when you need a specific character, product, or composition to remain stable.
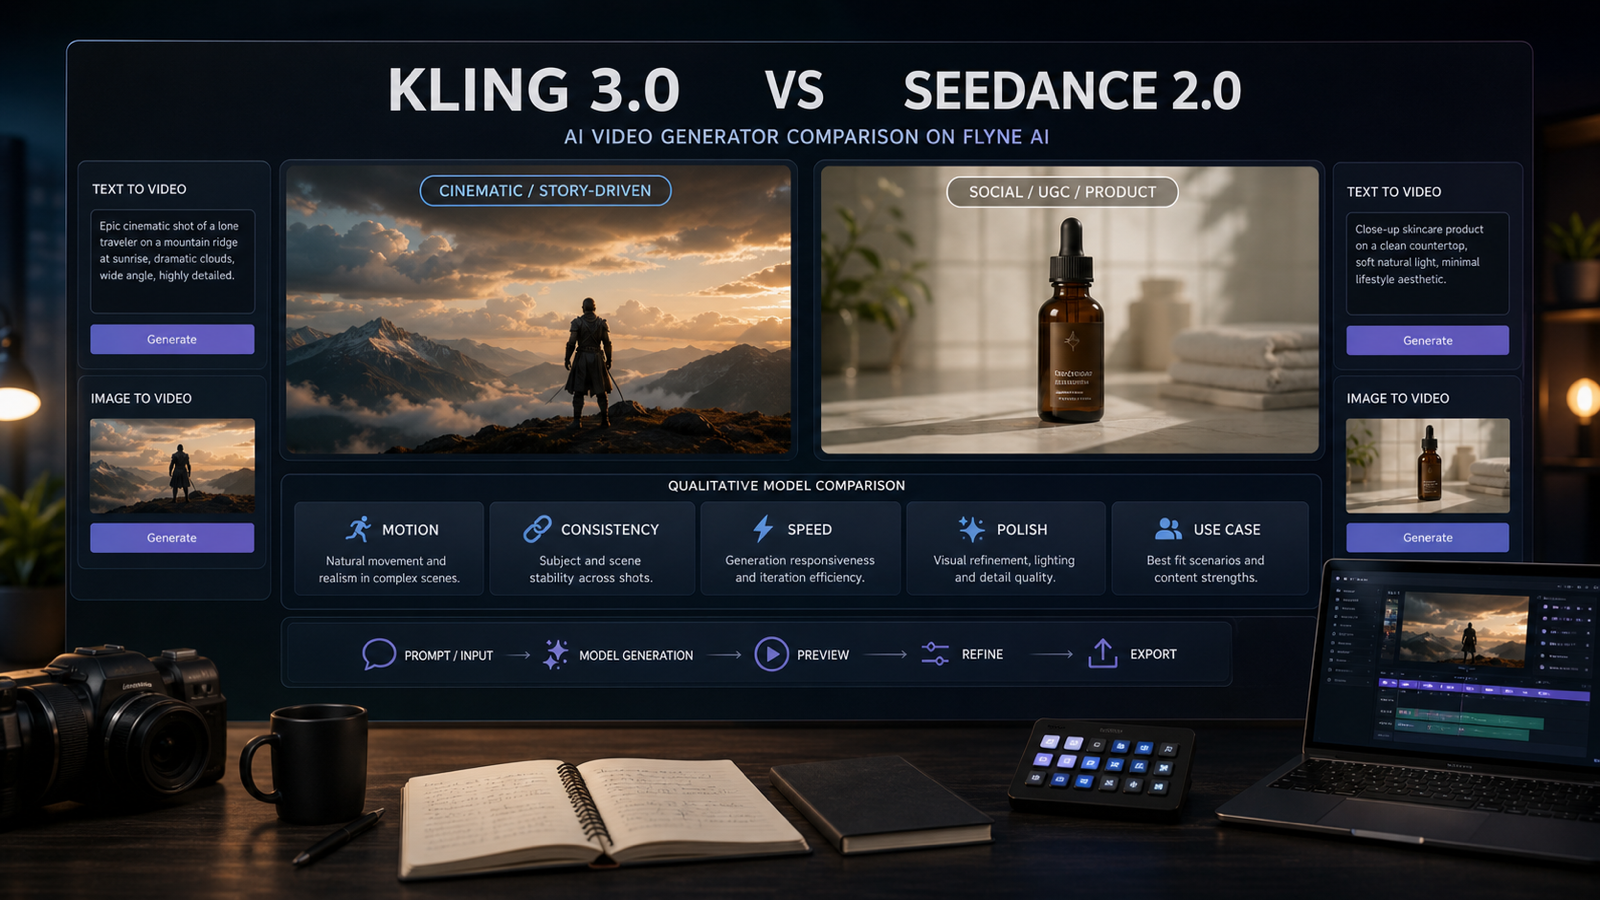
What Should I Compare It With?
For more structured cinematic generation, you can compare it with Kling 3.0. For broader model testing, try Seedance 2.0 or Google Veo 3 depending on whether your priority is motion, realism, control, or polished text-led output.
Final Takeaway
If you want fast, usable AI video clips that can look cinematic with the right prompts, Vidu Q3 is a strong choice—especially when you keep shots simple and motion grounded.
Your next step is easy: open Vidu Q3 on Flyne AI, run one prompt using the formula, generate two or three variants, then refine one detail at a time.
And if you want to compare alternatives, test Kling 3.0 for more directed cinematic structure, Seedance 2.0 for flexible motion workflows, Google Veo 3 for premium video generation, or the Flyne AI Video Generator when you want one hub for broader experimentation.
Recommended Tools
- Vidu Q3 AI Video Generator
- Flyne AI Video Generator
- AI Text to Video Generator
- Photo to Video AI Generator
- Kling 3.0 AI Video Generator
- Seedance 2.0 AI Video Generator
- Google Veo 3 AI Video Generator
- Consistent Character Video Generator
- Product to Video AI Generator
Related Articles
- Vidu Q3 vs Veo 3.1 vs Seedance 2.0: Which AI Video Model Fits Your Workflow in 2026?
- Happy Horse 1.0 vs Seedance 2.0: Which AI Video Model Is Better for Real Creative Work?
- HappyHorse Prompt Guide: How to Write Cinematic AI Video Prompts That Actually Work
- Seedance 2.0 Video Generation Guide: How to Get Controlled, Consistent Results
- Flyne AI Website Updates 2026: New Interface, Latest Models, and PayPal Support
People Also Read
- Vidu Q3 AI vs Kling 3.0: Which AI Video Model Should You Use?
- Which Vidu Model Is Best? Q1 vs Q2 vs Q3 Explained
- How to Use HeyDream AI’s Text-to-Video Generator: Model Comparison, Prompting Tips, and Workflows
- Veo 3.1 Video Generation Guide: How to Create Cinematic Clips
- Seedance 2.0 Prompt Tips for More Human, Realistic AI Video
- Sora 2 Is Shutting Down: Best AI Video Alternatives for Creators Right Now